Showing posts with label craft. Show all posts

Friday, 15 June 2012

EASY DECOUPAGE


This is such an easy project. When I was done I wanted to decoupage everything! It all started with some beautiful napkins I had but didn't want to use as napkins. Please pardon the pictures. I'm afraid some of them didn't come out very well, but this is so easy, you'll have no problems.

Materials:
Napkin(s)
White Glue and Water (50/50 mixture)
Brush
Item to be decoupaged (this can be pretty much anything, in this case I have used glass votive holders)


 Since this votive holder has no contours, I just cut a strip of napkin slightly wider than the height of the votive holder and long enough to wrap around.


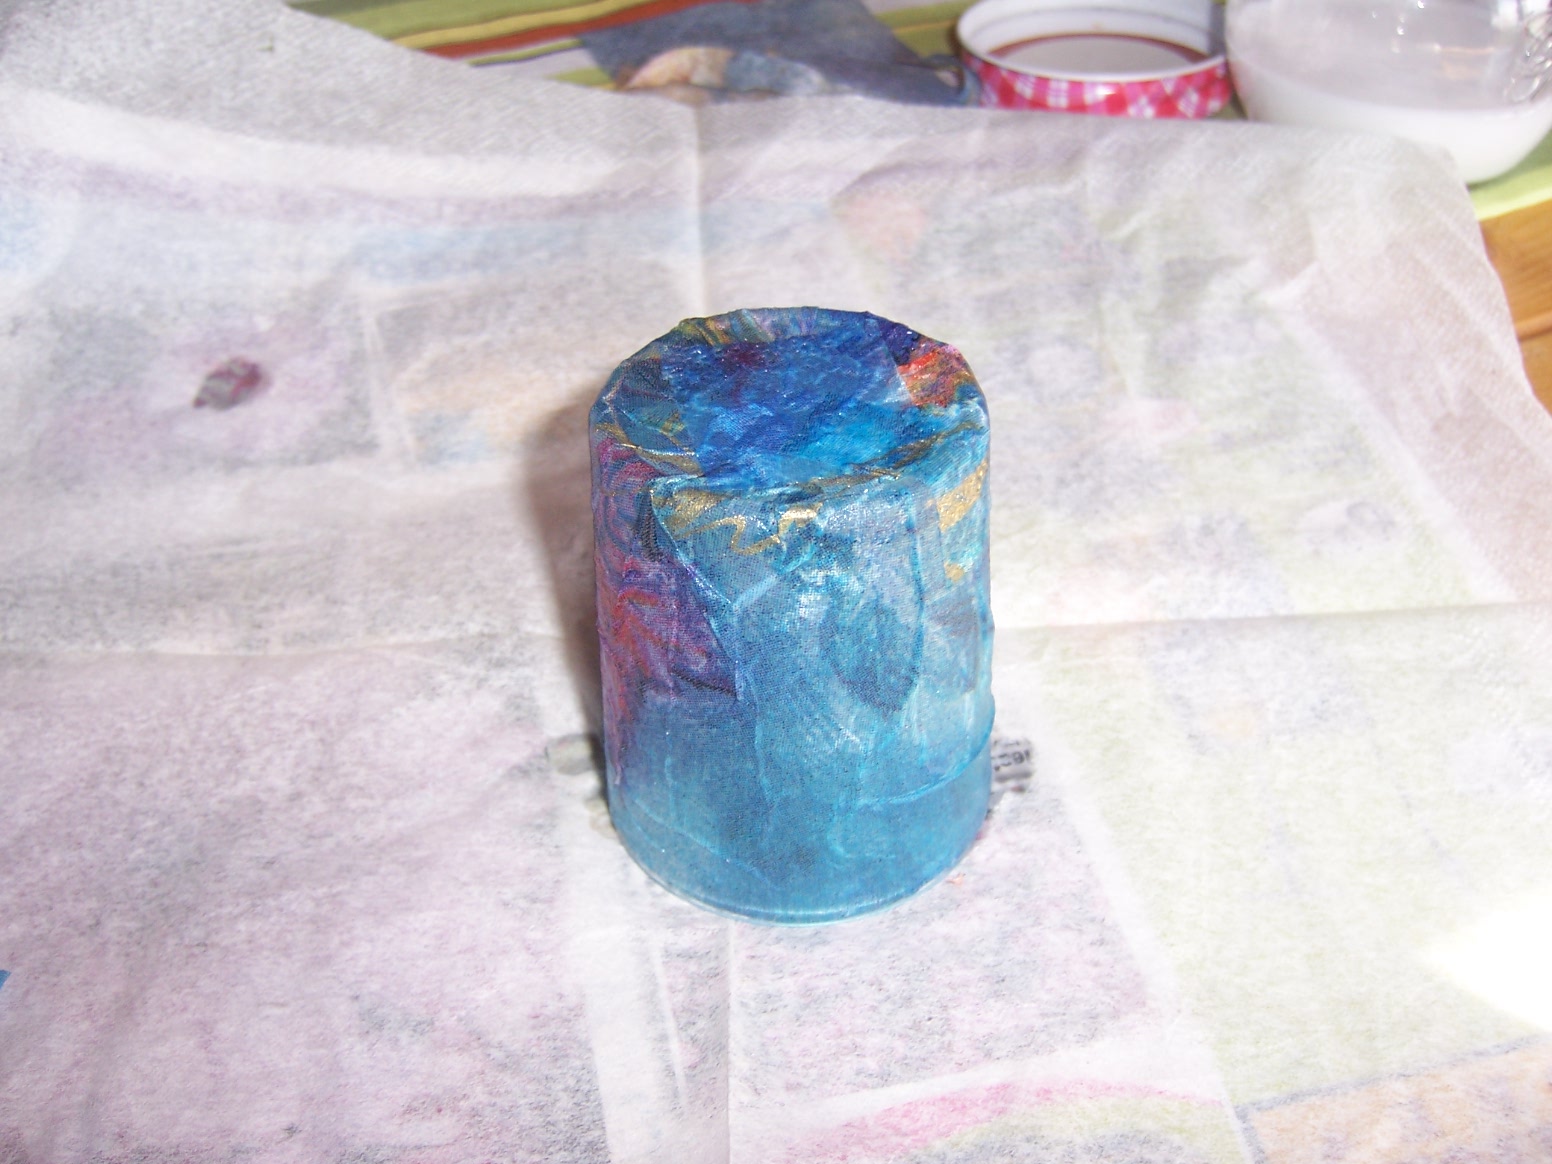
 Paint the glass with the glue mixture, lay it on the napkin strip and simply roll it so the seams overlap. Then paint on top of the napkin as well. This ensures it will have very good adhesion and will provide a protective coating.


There will be extra napkin at the top and bottom of the votive. Here you can either cut the napkin along the top or fold it to the inside. Either way, be sure you seal it by just painting the glue mixture over top.


Here I cut the top of the napkin, but folded it over on the bottom and applied glue to seal.

Done! This took less than 5 minutes from start to finish.


Here is a cat votive holder I did as well. Since there are a lot of contours, it's best to use strips. You don't need to cut them as they the strips will blend better if they are torn.


The method is the same. Paint the glue mixture on the item, lay on the napkin strip and apply the glue over top. It goes VERY EASILY over the contours. I couldn't believe well it went on.


And done! So easy and fun! :)

Saturday, 5 May 2012


Shredded Curtains to Pretty Votive Holders.


 Today I washed some gauze curtains that came with the house. One set came out just fine. The other set came out like what you see here. I have no idea what happpened, They looked the same when they went in. :)

Well, I just couldn't bring myself to throw them out without salvaging what I could from them. So, I cut out any daisies that weren't shredded and managed to save a bit of ruffle, too.

Since Mother's Day is coming, I'd been thinking of something 'springy' for my Mother-In-Law. We are on a very limited budget so I usually make gifts using what I have on hand.


I thought I would start with some votive holders. I had some plain glass ones and saw that the daisies were the perfect size for them.

ModPodge and a sponge brush can be used here, but since I have neither, I used a 50/50 white glue & water mixture and an artist's brush which I had on hand, for some reason. ;)


Lay the daisy upside down on waxed paper and apply glue mixture liberally.
Roll the votive holder onto the daisy, it'll lift easily off the waxed paper. 

That's it! You're done! I put 2 daisies on one and 3 on the other.

I need to find a 3rd votive holder and I'll just have one daisy on that. If that doesn't pan out, I may do a vase to go with it.

There are so many possibilities using this technique. It was so quick and easy and I'm really pleased to have repurposed a set of shredded curtains. Yay!

Monday, 23 April 2012

U is for UMBRELLA - A Tutorial

I saw on Pinterest that someone had recovered an umbrella and I thought "What a great idea!" So, of course, I couldn't get it out of my head until I did it myself.  I grabbed my umbrella (it's just a cheap one), examined it and saw that it would probably be quite easy -- and it was! -- very easy! I was very pleased with the result. You probably won't even need a tutorial but just in case, here it is.


Cheap Umbrella
New & Improved Umbrella


  Turn old into new.


Begin removing panels.

Remove all the panels until just the centre is left.

Remove centre button and save for later.

Save underside of button, too.

Cut out one panel to use as a pattern for the new fabric.

Remember to add a seam allowance and length for the hem.

Sew all the panels together.

For the tie, cut a strip of fabric, fold in 1/2 lengthwise right sides together. Sew all around leaving one end open for turning. Attach velcro.

Sew tie to centre of one panel.

I serged all around the hem edge because my fabric had a lot of fraying. Fold hem up and sew along serged (or raw) edge.

Flip to right side and sew close to the folded edge of the hem.

Centre the umbrella top over the point where the ribs meet. Replace the centre button. This will anchor the fabric so you can begin attaching the fabric to the ribs. I started at the outside edge and worked my way in. (This requires hand sewing, the panel attaches in three different spots on the rib, with this umbrella). I did one rib, then the opposite rib and so on around.

Voila! All attached! And Done! Here's the outside...

... and here's the inside.

I made a case as well, which is basically just a tube. Nothing fancy but works great!

Well, that was easy! This is for my granddaughter so I'm making a backpack to match. I'll be putting up that tutorial once I'm done, which will be soon.

This was so easy that I want to do more. A parasol would be fun using different fabrics, lace, ribbons, etc. The possibilities are endless!


Thursday, 5 April 2012

E is for EASY EASTER EGG (shaped like a ball)


Yeah, this day would have been so much easier if I'd had a styrofoam egg. After sewing a "stuffed egg" and trying to decorate it to trying to make an egg shape with styrofoam balls, I finally decided to just go with the ball shape and pretend it was an egg. Although this isn't quite what I had in mind when I started, I'm done for today. Tomorrow I'll do the others.

You'll need: styrofoam egg, ribbon and straight pins.

This is a really simple "egg" and is pretty much self explanatory. Just wrap the "egg" with ribbon as shown left (each line of ribbon is a double layer. This is so the strips can be separated.) Pin the first round on the double layer of ribbon. In the second round the ribbon strips are separated and there is now a left strip and a right strip. The right strip of one pair is joined with the left strip of the next pair and pinned where they meet. Continue until the entire "egg" is done and that's it!

 There are lots of possibilities here. You can wrap a styrofoam egg in fabric, cover with pastel buttons, flowers, etc. Those are the ones I'll be doing tomorrow. Use whatever you have and as you get going, the ideas will just start coming. I'd love to see what you've come up with.

Wednesday, 4 April 2012

D is for DAMMIT DOLLS (and Dudes)

Dammit Dolls have been around for a long time. Last year, I made Dammit Dolls for everyone (well, the adults) for Christmas and they were a big hit!  The ones shown above were my very first and I thought they were too small (7" and too skinny) so I made bigger versions which were a lot better (10"). As a result everyone got two dolls; a Dammit Doll and a Mini Dammit Doll (for the tiny things that irk you). The boys got Dammit Dudes.


These are very easy to make. Just draw a gingerbread man shape as a pattern. (It doesn't have to be perfect, these are not fancy. Mine turned out to have large, flat heads). Lay the pattern on two pieces of fabric, having wrong sides together. Cut and sew, leaving an opening for stuffing. Stuff, then sew the opening closed and you're done. Now you can decorate however you like. I cut out felt for the eyes and then used lace "collars" for the "dolls" and bias tape "ties" for the "dudes".


Now for the poem, which is what makes these dolls so hilarious! Here is the original poem. I used the last stanza for each doll but the first 2 stanzas were mine and were different for each person.

When you want to kick & scream, Or throw things all about
Here's a little Dammit Doll, You cannot do without.

Just grasp it firmly by the legs, And find a place to slam it,
And as you whack the stuffing out, Yell "Dammit! Dammit! Dammit!"

Wednesday, 28 March 2012

Clock Makeover

Clock Makeover
The place we moved into recently came with a couple of plastic clocks. My first instinct was to throw them out but, happily I caught myself. Since they still worked, there's no reason why I couldn't just give them a makeover. So I went to my scrapbag and found a fabric I really liked and proceed to do my very first "clock makeover".

Here is a quick tutorial on the basic steps. Note: Sorry, I don't have a before picture.

Materials:
Clock, Fabric, "Numbers", Cardboard,
Spray Adhesive (use in a well ventilated area. I was running out to the garage each time I needed to use it ... which is a good thing .... I needed the exercise)

1. Pop off the clear plastic cover (if yours has one), pull off the hands (I'm not sure if all clocks have pull off hands, so be careful) and remove the workings from the back. The face (cardboard with the numbers on it) should come right off, mine fell off as soon as I took off the hands.

2. Place the fabric face down and apply spray adhesive. Place the cardboard face plate on top and rub all around so it adheres well. I would recommend placing the face plate number side up and not blank side up as I did here. If your fabric is light, the numbers will show through. I mistakenly placed mine number side down. Oops!


3. Cut around the face plate. Cut out the hole in the centre. The stem for the hands pushes through here so there can be no fabric pushing up as it may impede the movement of the hands.

Note: At this point, if you aren't planning to cover the frame of the clock, you can skip ahead to Step 9.


4. The frame: Lay the fabric on the clock frame. Cut 2 pieces of cardboard about the size of the face plate. Fit one into the frame on top of the fabric. The other will be used in Step 5. The idea here is to help hold the fabric in place when it's time to roll it out over the frame (once the adhesive is applied).


 5. Fold the fabric over the cardboard and place second piece of cardboard on top. This will protect the fabric while the adhesive is being applied.

6. Spray the adhesive all over the clock frame.

7. Remove the top cardboard, unfold the fabric and roll it over the frame, rubbing everywhere to minimize the wrinkles. (Keep the first piece of cardboard for now as it is still needed to anchor the fabric.)


8. Remove the first cardboard piece and cut out the fabric covering the middle of the clock. This part will be hidden by the clock face and you don't want to add any thickness here since the stem height for the hands will allow for very little added thickness.


9. Now for the fun part! Reassembly! Fit the face plate into the clock. Reattach the workings through the back and push the hands back on at the front. Be sure they are seated correctly or they won't work properly.


 10. Once the hands are in place you can begin gluing on the "numbers". I used hot glue and buttons here.


11. Start the "numbering" by bringing the minute and hour hands to the 12:00 position using the dial at the back of the clock. Place your first "number". Then spin the minute hand around to the 1:00  position and place the second number, and so on.


Replace the plastic cover, if desired and you're done!


Here is a clock where the frame was kept and only the face plate and "numbers" were updone .... updoed..... updid .... made over.

Happy "clocking". :)